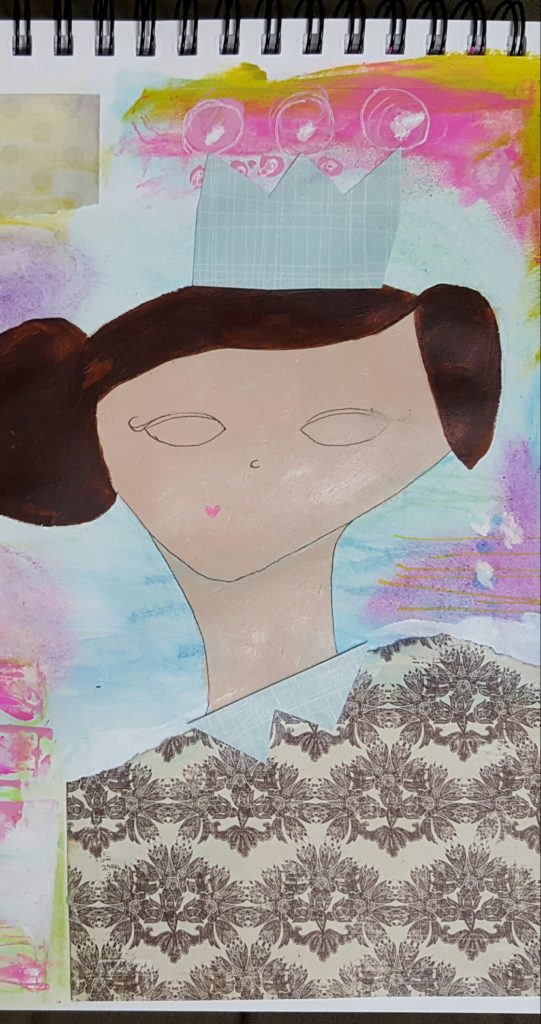
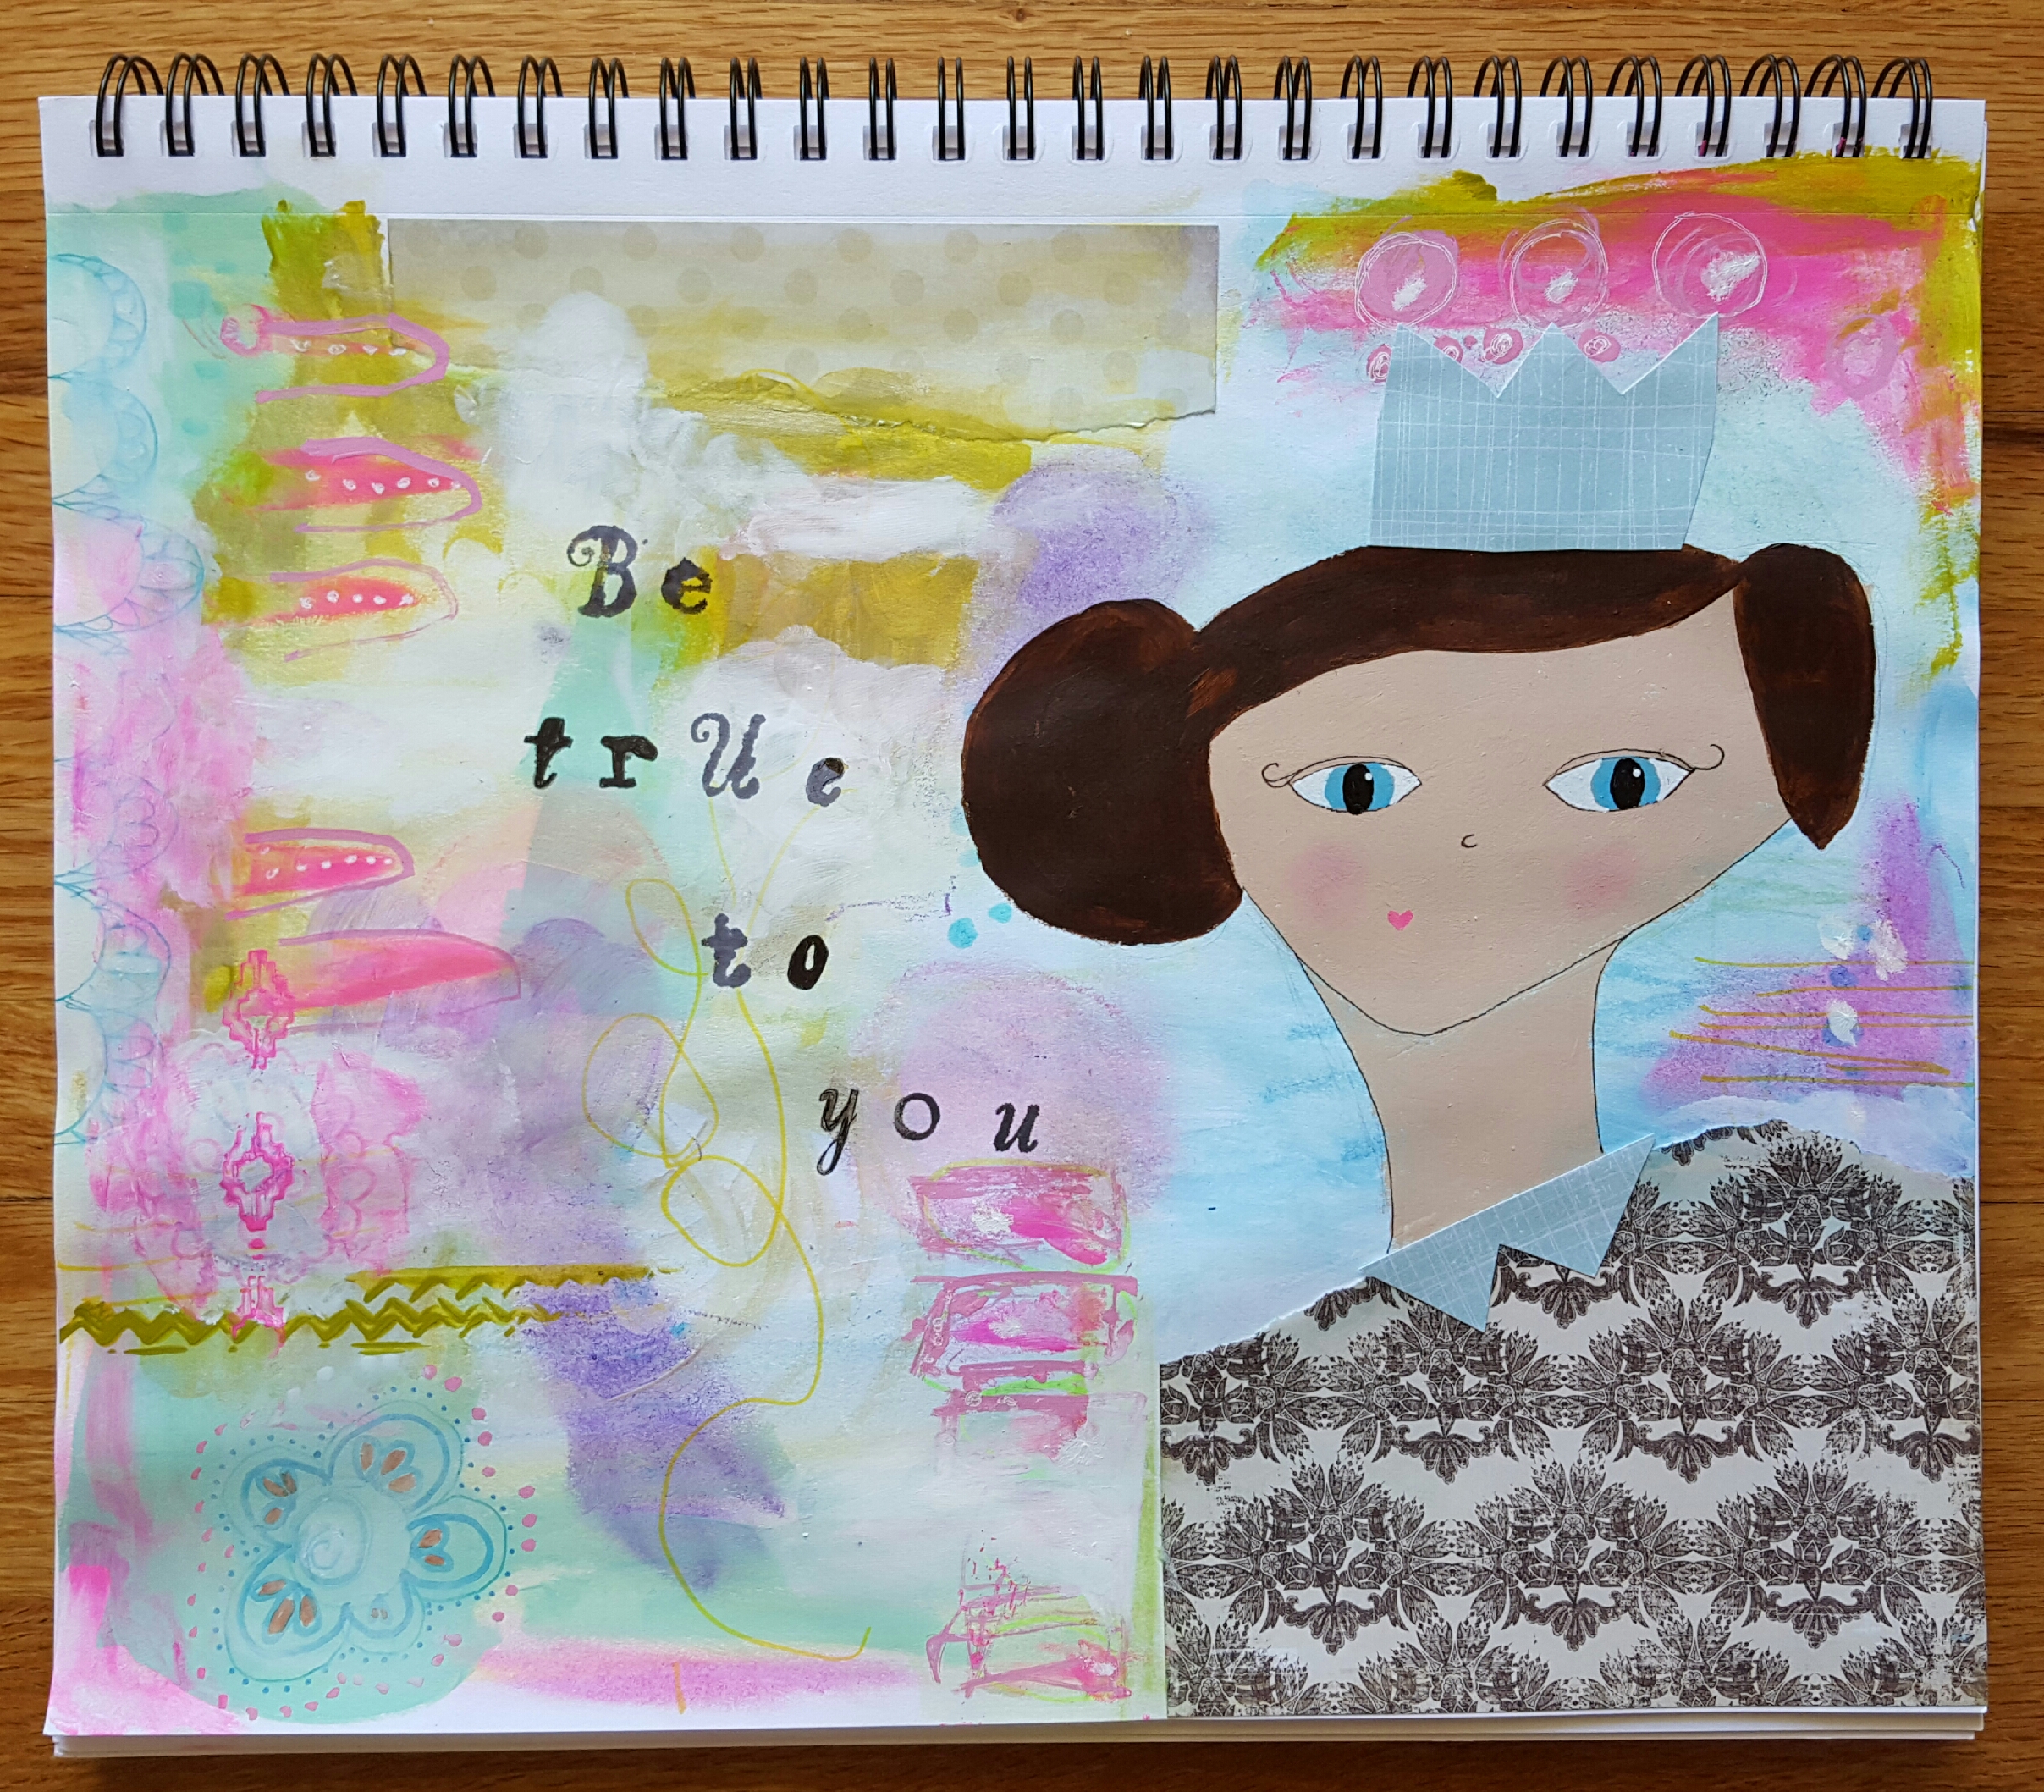
Blog

Home/Blog/

Be True. Be You.

Click through to get this free inspirational printable PDF, Be True!

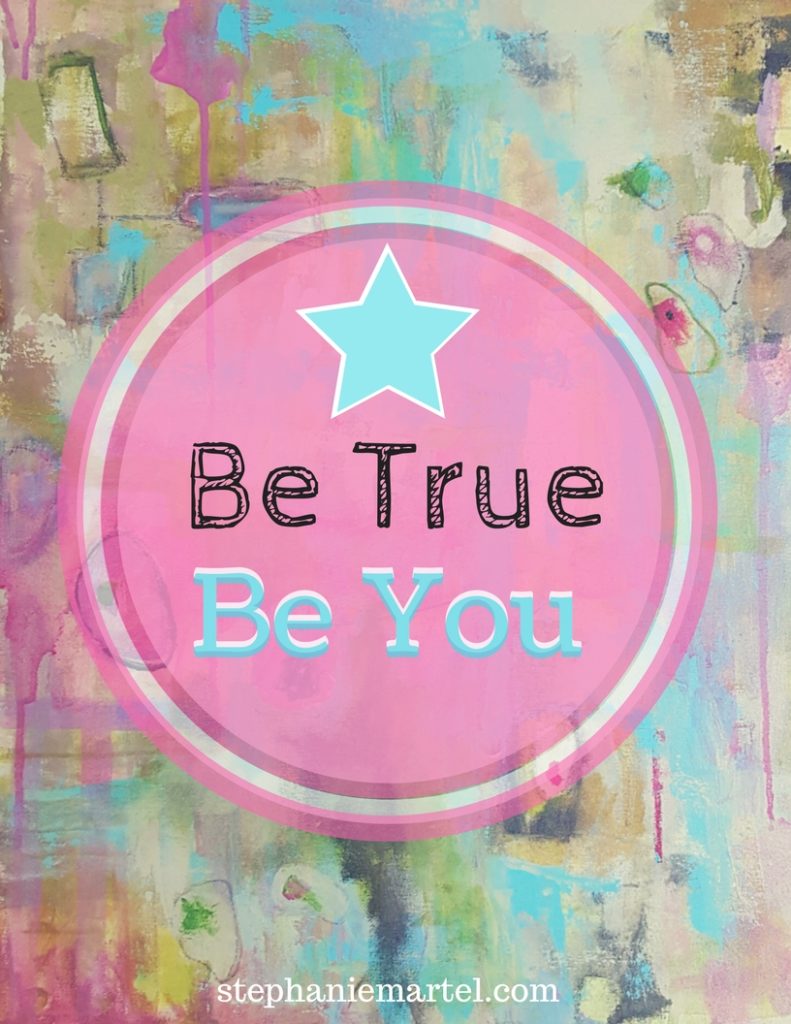
Here’s a free printable PDF for you, Be True.

Do you want an 8×10 hi resolution copy of this inspirational piece that you can print out and frame for yourself (or a friend)?  Just click here and you’ll get access to my resource library that includes this freebie and a bunch of other juicy stuff I know you’ll like.

Love, Steph

P.S. Want to learn how to create your own free printable?  Check out my course, Create In Canva.

Be True. Be You.2018-03-29T20:23:06-04:00

Abstract Painting Art In Progress: Be True To You

Art In Progress: See how I create Inspirational art for kids + the kid in you. To learn about art technique + my motivation for creating this piece, click through for a peek. See how paintings evolve from start to finish! Original artwork by Stephanie Martel.

Art In Progress: See how I create Inspirational art for kids + the kid in you. To learn about art technique + my motivation for creating this piece, click through for a peek. See how paintings evolve from start to finish! Original artwork by Stephanie Martel.

In an effort to get back to creating consistently, I went out and made an on the go studio kit for myself.  You can see what it includes in this post I wrote about creativity.  I wanted to take the pressure off of needing to set my studio back up after having a baby in order to get back to abstract painting.  I realized I can be creative in so many ways on the go (hello simple sketches) and I liked the idea of smaller versions of my favorite supplies to bring the ease back to my process.

I got these adorable paints from Target.  They’re small and fun and the colors!  *swoon*

Art In Progress: See how I create Inspirational art for kids + the kid in you. To learn about art technique + my motivation for creating this piece, click through for a peek. See how paintings evolve from start to finish! Original artwork by Stephanie Martel.
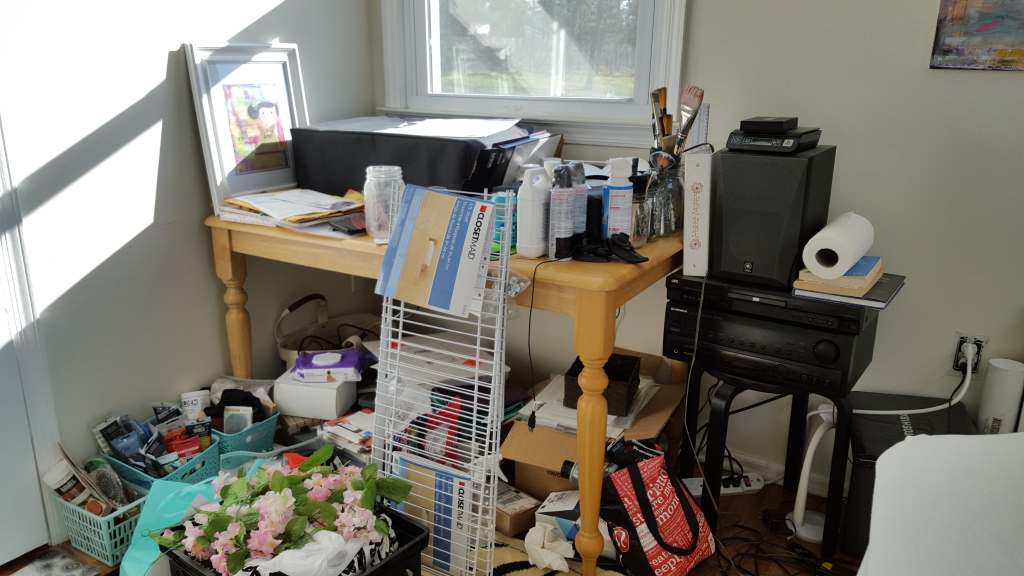
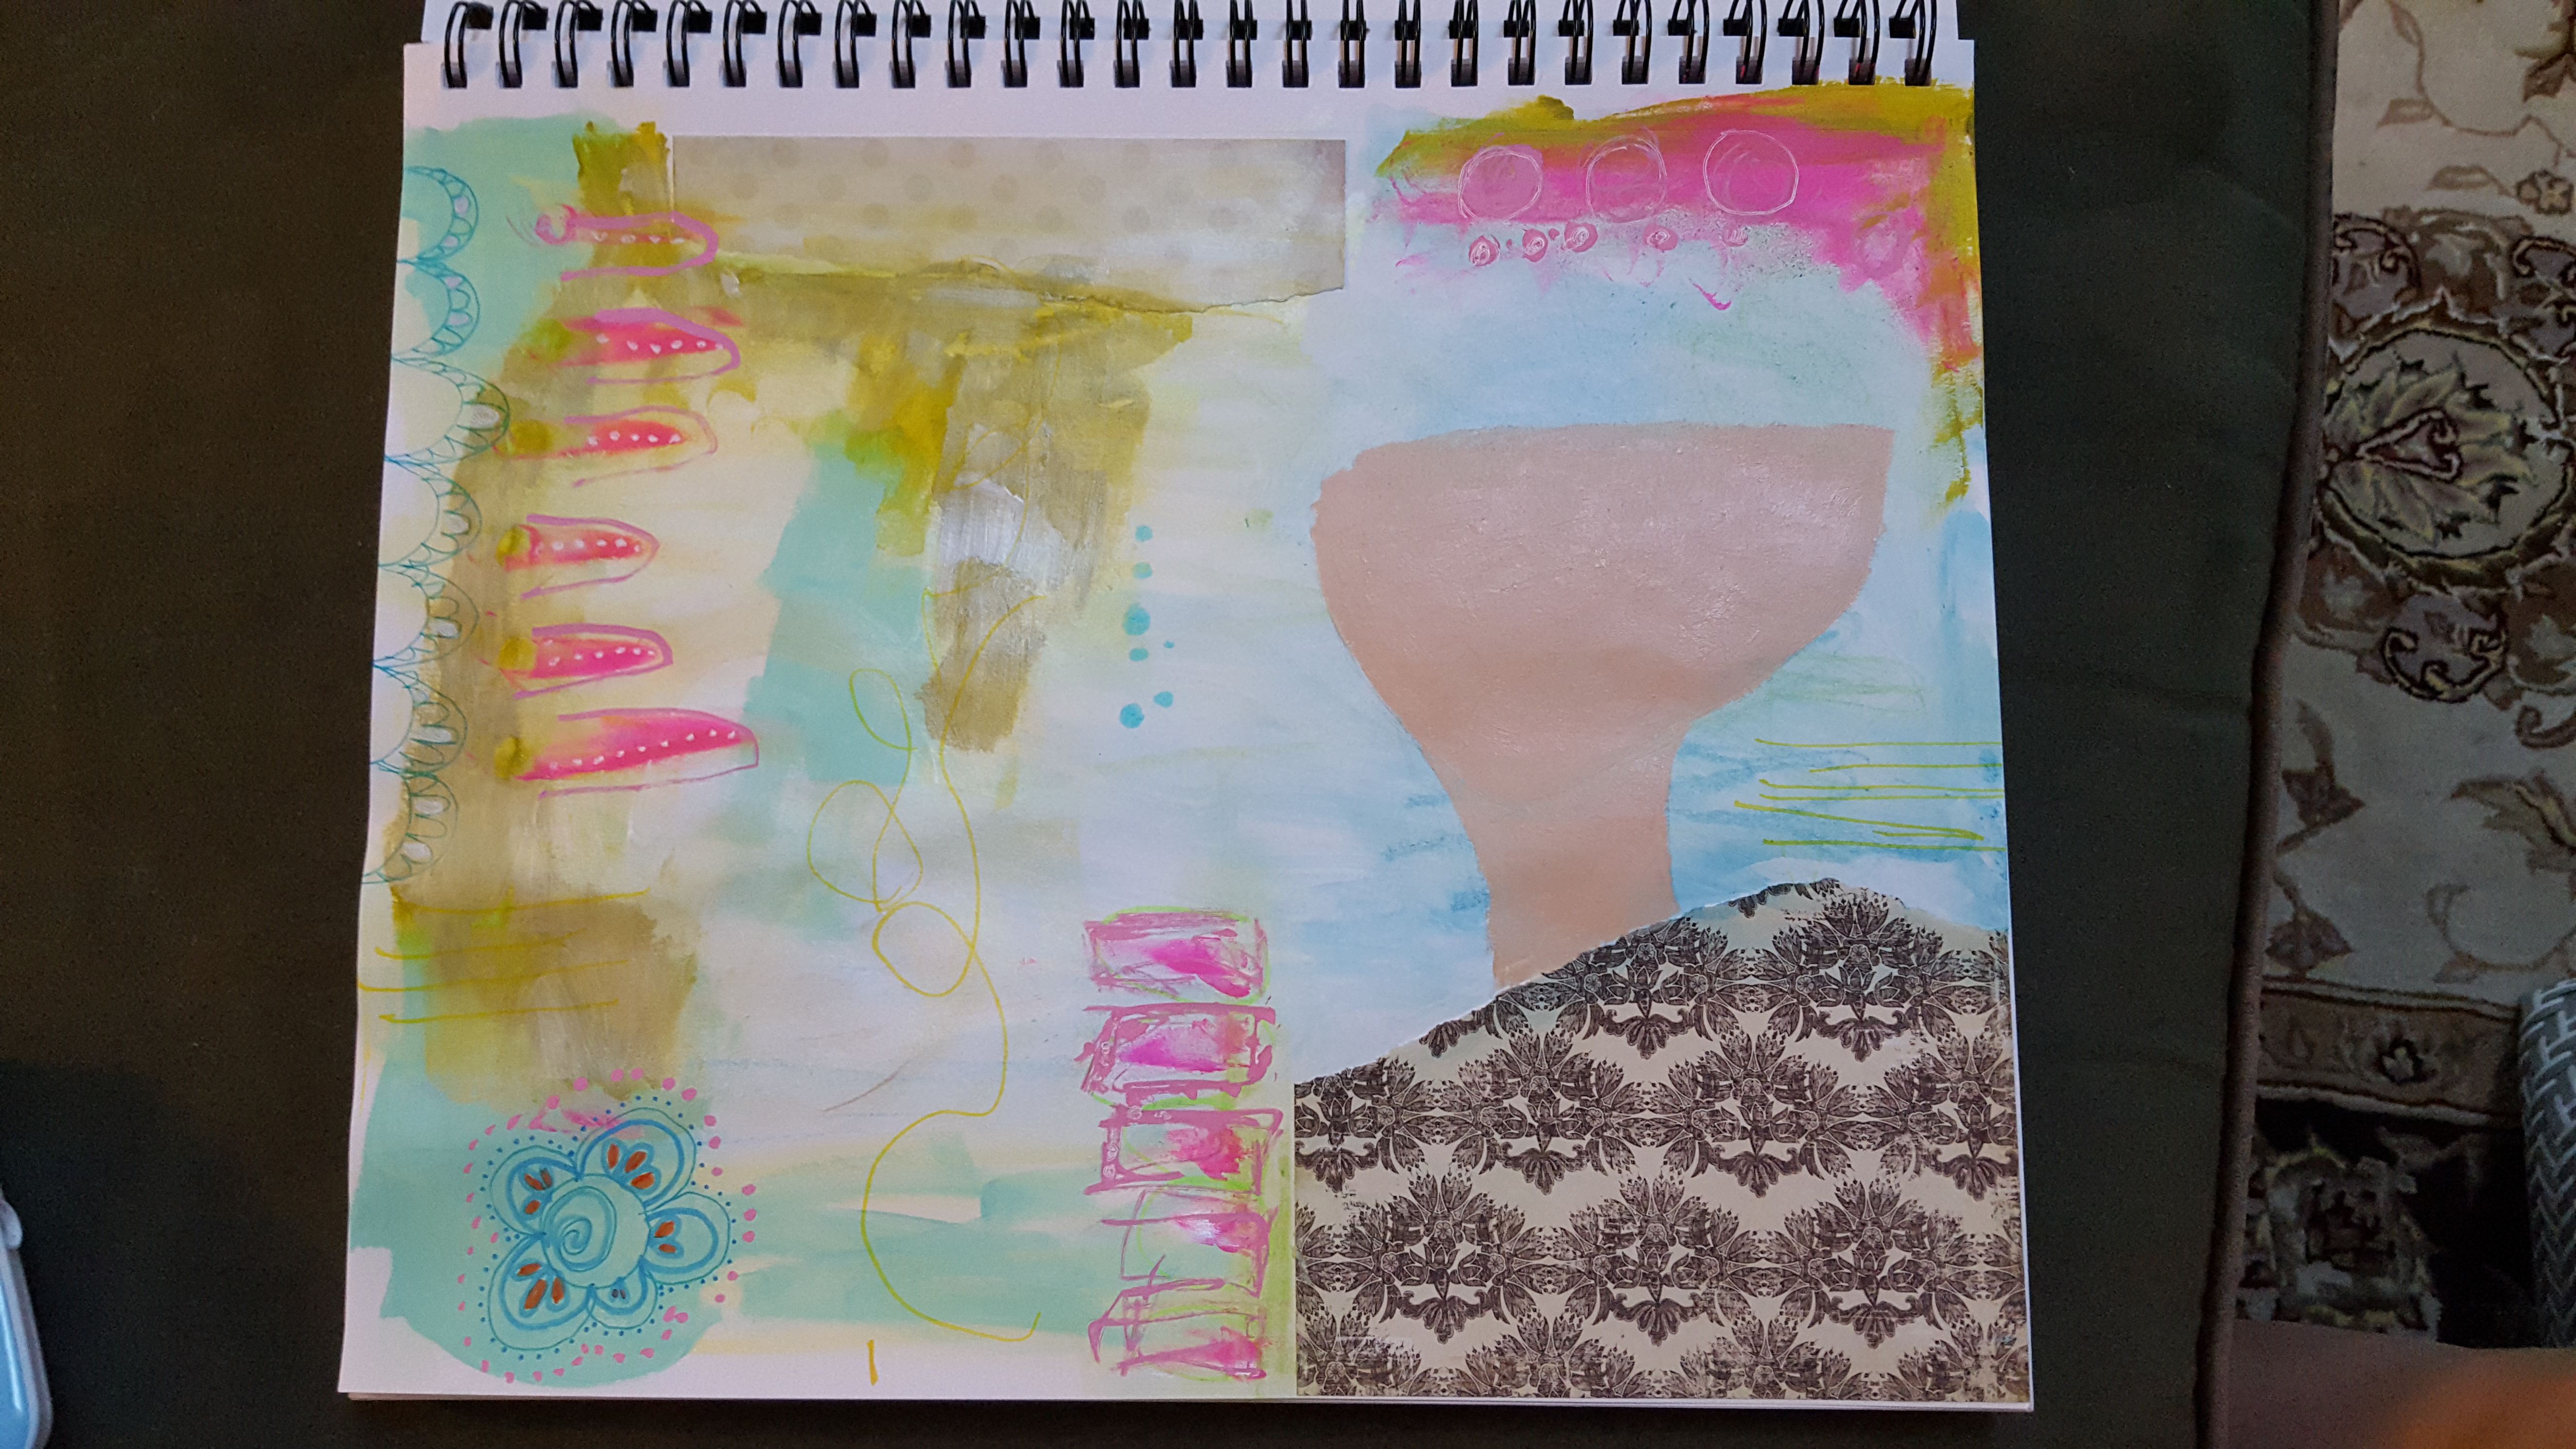
I wanted to change what I painted on and try a new format–using a pad of heavy duty mixed media paper is new to me because I usually use a canvas to create.  You know what? I found working on the paper to be amazingly freeing!  I wasn’t so worried about ‘messing things up’ like I would feel sometimes in front of a fresh started canvas.

I began this piece below by using water soluble wax pastels and treating them like watercolors.  Have you used them before?  They’re definitely worth checking out.  I colored with them on the page, then smudged with a wet brush and sometimes my fingers and it gave a nice watercolor background effect.

20160716_092712

I spread some of the paint colors around the edges of the paper and added in collage and pen details.   I had fun with the doodles, I wasn’t thinking too much but just trying to enjoy the process–that is the way abstract painting is meant to feel.  I saw that a girl was emerging so I brought her to life by painting her face and neck.

Art In Progress: See how I create Inspirational art for kids + the kid in you. To learn about art technique + my motivation for creating this piece, click through for a peek. See how paintings evolve from start to finish! Original artwork by Stephanie Martel.

Some close up details of the doodles…

Art In Progress: See how I create Inspirational art for kids + the kid in you. To learn about art technique + my motivation for creating this piece, click through for a peek. See how paintings evolve from start to finish! Original artwork by Stephanie Martel.

I found myself getting a little stuck on what to do next so I started adding details to the girl–her hair came first.  And then I added the outline for her eyes, but I messed up on the left eye!  Oh well.  I was using a pitt pen, so I quickly wiped it with a baby wipe and just tried again.  The paint for the color of the eyes eventually covered it up.

Art In Progress: See how I create Inspirational art for kids + the kid in you. To learn about art technique + my motivation for creating this piece, click through for a peek. See how paintings evolve from start to finish! Original artwork by Stephanie Martel.

After adding some more details and the sentiment, I feel like it was finished. This was so much fun to create on paper, I can’t wait to do the next one!

I spread some of the paint colors around the edges of the paper and added in pen details.   I had fun with the doodles, I wasn't thinking too much but just trying to enjoy the process.

Love, Steph


Abstract Painting Art In Progress: Be True To You2018-03-29T20:23:06-04:00

5 Organization Ideas That Boost My Creativity

5 Organization Ideas That Boost My Creativity

Sign up for my free resource library

I have a few organization ideas up my sleeve that I use in order to get my creativity flowing.  Because although I like to think I can just sit down at any  moment and churn out some awesome creative pieces, there’s usually a few steps I have to take to get to that point; I’m guessing you’re the same way. #amiright?

And I don’t know about you, but life often has a tendency to interrupt me juuuuust when I’m getting into a flow of creativity.  It can be really hard to pick up where I left off, so I use a few jedi mind tricks to keep my productivity + creativity flowing.

Make space to create:

I try to consistently set aside time when I know I can create (9am/3 days a week for at least 30 minutes).  It seems so simple, right?  Since I have a baby under 1, those times are often interrupted or eliminated, but it helps to know that I am at least trying and that I have the time set aside just for my creative whims.  He won’t be a baby forever and I want to try to stick to the habit of consistently showing up for the work–I know if I can get my body there, my mind will follow.  And if I’m organized about it, I get even better results.

Get prepared:

I keep supplies easily accessible so that I can take advantage of a free 20 minute block.  I recently bought mini versions of a few of my most used supplies and store them in a totebag, so I can take it anywhere.

The supplies include:

  • A multi-media sketch pad
  • small box of favorite markers, pens and a few paint brushes
  • a small water palette
  • wax crayons (I can use them for heavy vibrant marks or create a watercolor effect from them)
  • gel medium
  • scraps of paper for collage

5 Organization Ideas That Help Me Be More Creative

This way I can create very easily without setting up a lot of stuff.  It has taken the pressure off of needing to only create in my studio because in the past, that’s where all of the supplies were.

Capture images as I go:

I try to take a lot of pictures and document what I do so I can use the images as backgrounds for social media graphics or add to posts later (especially when it’s an art in progress post!)

I try to take photos of everyday life that I know would make a nice background for my blog posts or social media graphics, too.   And the simpler the better–it doesn’t have to be a fancy picture, just something easy on the eyes and in focus always works great.  And don’t worry about needing some fancy equipment.  I take the pictures with my phone!  Most phones have a pretty amazing camera these days so I just use a lot of natural light and get snapping.

Simplify with batching (best organization idea hack):

I try to batch create when at all possible.  If I’m creating a graphic for a social media post or a blog post, I try to create a few at a time, even if it means I’m not going to use them right away.  I have a file folder in my dropbox (more on that below) that is literally labeled “not used yet” and it’s where I keep some images and graphics for future use.  It’s a total time saver!

“I love wasting time,” said no one, ever.

I create paintings in batches as well.  When I’m working on a piece, I usually have a few in rotation that I can go to when one is drying, that way I’m always working on something.  It not only helps keep the creative flow going, but I’m getting a lot done rather than sitting and watching paint dry (literally.)

Store images in a cloud:

Dropbox is my best friend.  There is a free version, but I pay for the monthly version because it gives me a lot more space.  I can access that sweet drive from anywhere!  Not only do I have it on my laptop, but I have it on my phone and I can immediately upload the pictures I take.  It makes creating social media graphics sooooo easy and fast.  Organizing everything into folders also helps keep everything in order and makes the images simple to use.

I don’t assume I’ll remember:

Here’s a simple but powerful organization idea: I try to write any good ideas down when they come up.  Not only do I have an app that will capture inspiration when it strikes (Hello my love, Google Keep) but I also carry around a small moleskine in my purse to make notes or sketches when they pop into my head.  It’s nothing fancy, it’s just to jot things down because sometimes the perfect idea comes to me when I’m in the shower.  You too? 🙂

Hope these ideas are helpful to you–here’s to being more creative!

Love, Steph


5 Organization Ideas That Boost My Creativity2018-03-29T20:23:06-04:00

Take It Slow

Follow my blog with Bloglovin

Click through to get this free inspirational printable PDF!

Here’s a free printable PDF for you!

Do you want an 8×10 hi resolution copy of this inspirational piece that you can print out and frame for yourself (or a friend)?  Just click here and you’ll get access to my resource library that includes this freebie and a bunch of other juicy stuff I know you’ll like.

Take it slow, friend.

Love, Steph

Take It Slow2018-03-29T20:23:06-04:00

5 Social Media Graphic Elements That Will Attract Your Creative Tribe

Click through to learn the 5 Social Media Graphic Elements

Click through to learn the 5 Social Media Graphic Elements

I love creating graphics but doing this might feel like learning a new language for you. I totally get it!

I want to help you out with a few design hacks that can make creating these little artsy graphics easier.  So whether you make the designs for fun for your social media profiles or for promoting your blog/artwork, you’ll feel good about what you’re putting out there.  It’s not as hard as it might seem, so let’s get to it!

Simplify the text you use.

Remember the phrase, “A picture is worth a thousand words”?

Well friend, let that be your mantra when you’re deciding what to say in your visual.  There’s nothing worse than a cluttered graphic that you can’t read!  And besides, you don’t need to tell your viewer everything in the graphic, it’s just to whet their appetite.

Best practice is to use text that contrasts with the background (and not a lot of it): use light text on dark backgrounds or dark text on light backgrounds.  If you stick to the title, it will make your reader curious for more and hopefully they will click through.


Click through to get access to my free library of helpful tools, including this worksheet on how to create a good graphic!

Use pictures to tell your story.

How to add an isolation coat to your mixed media painting. Use this technique to protect your artwork!
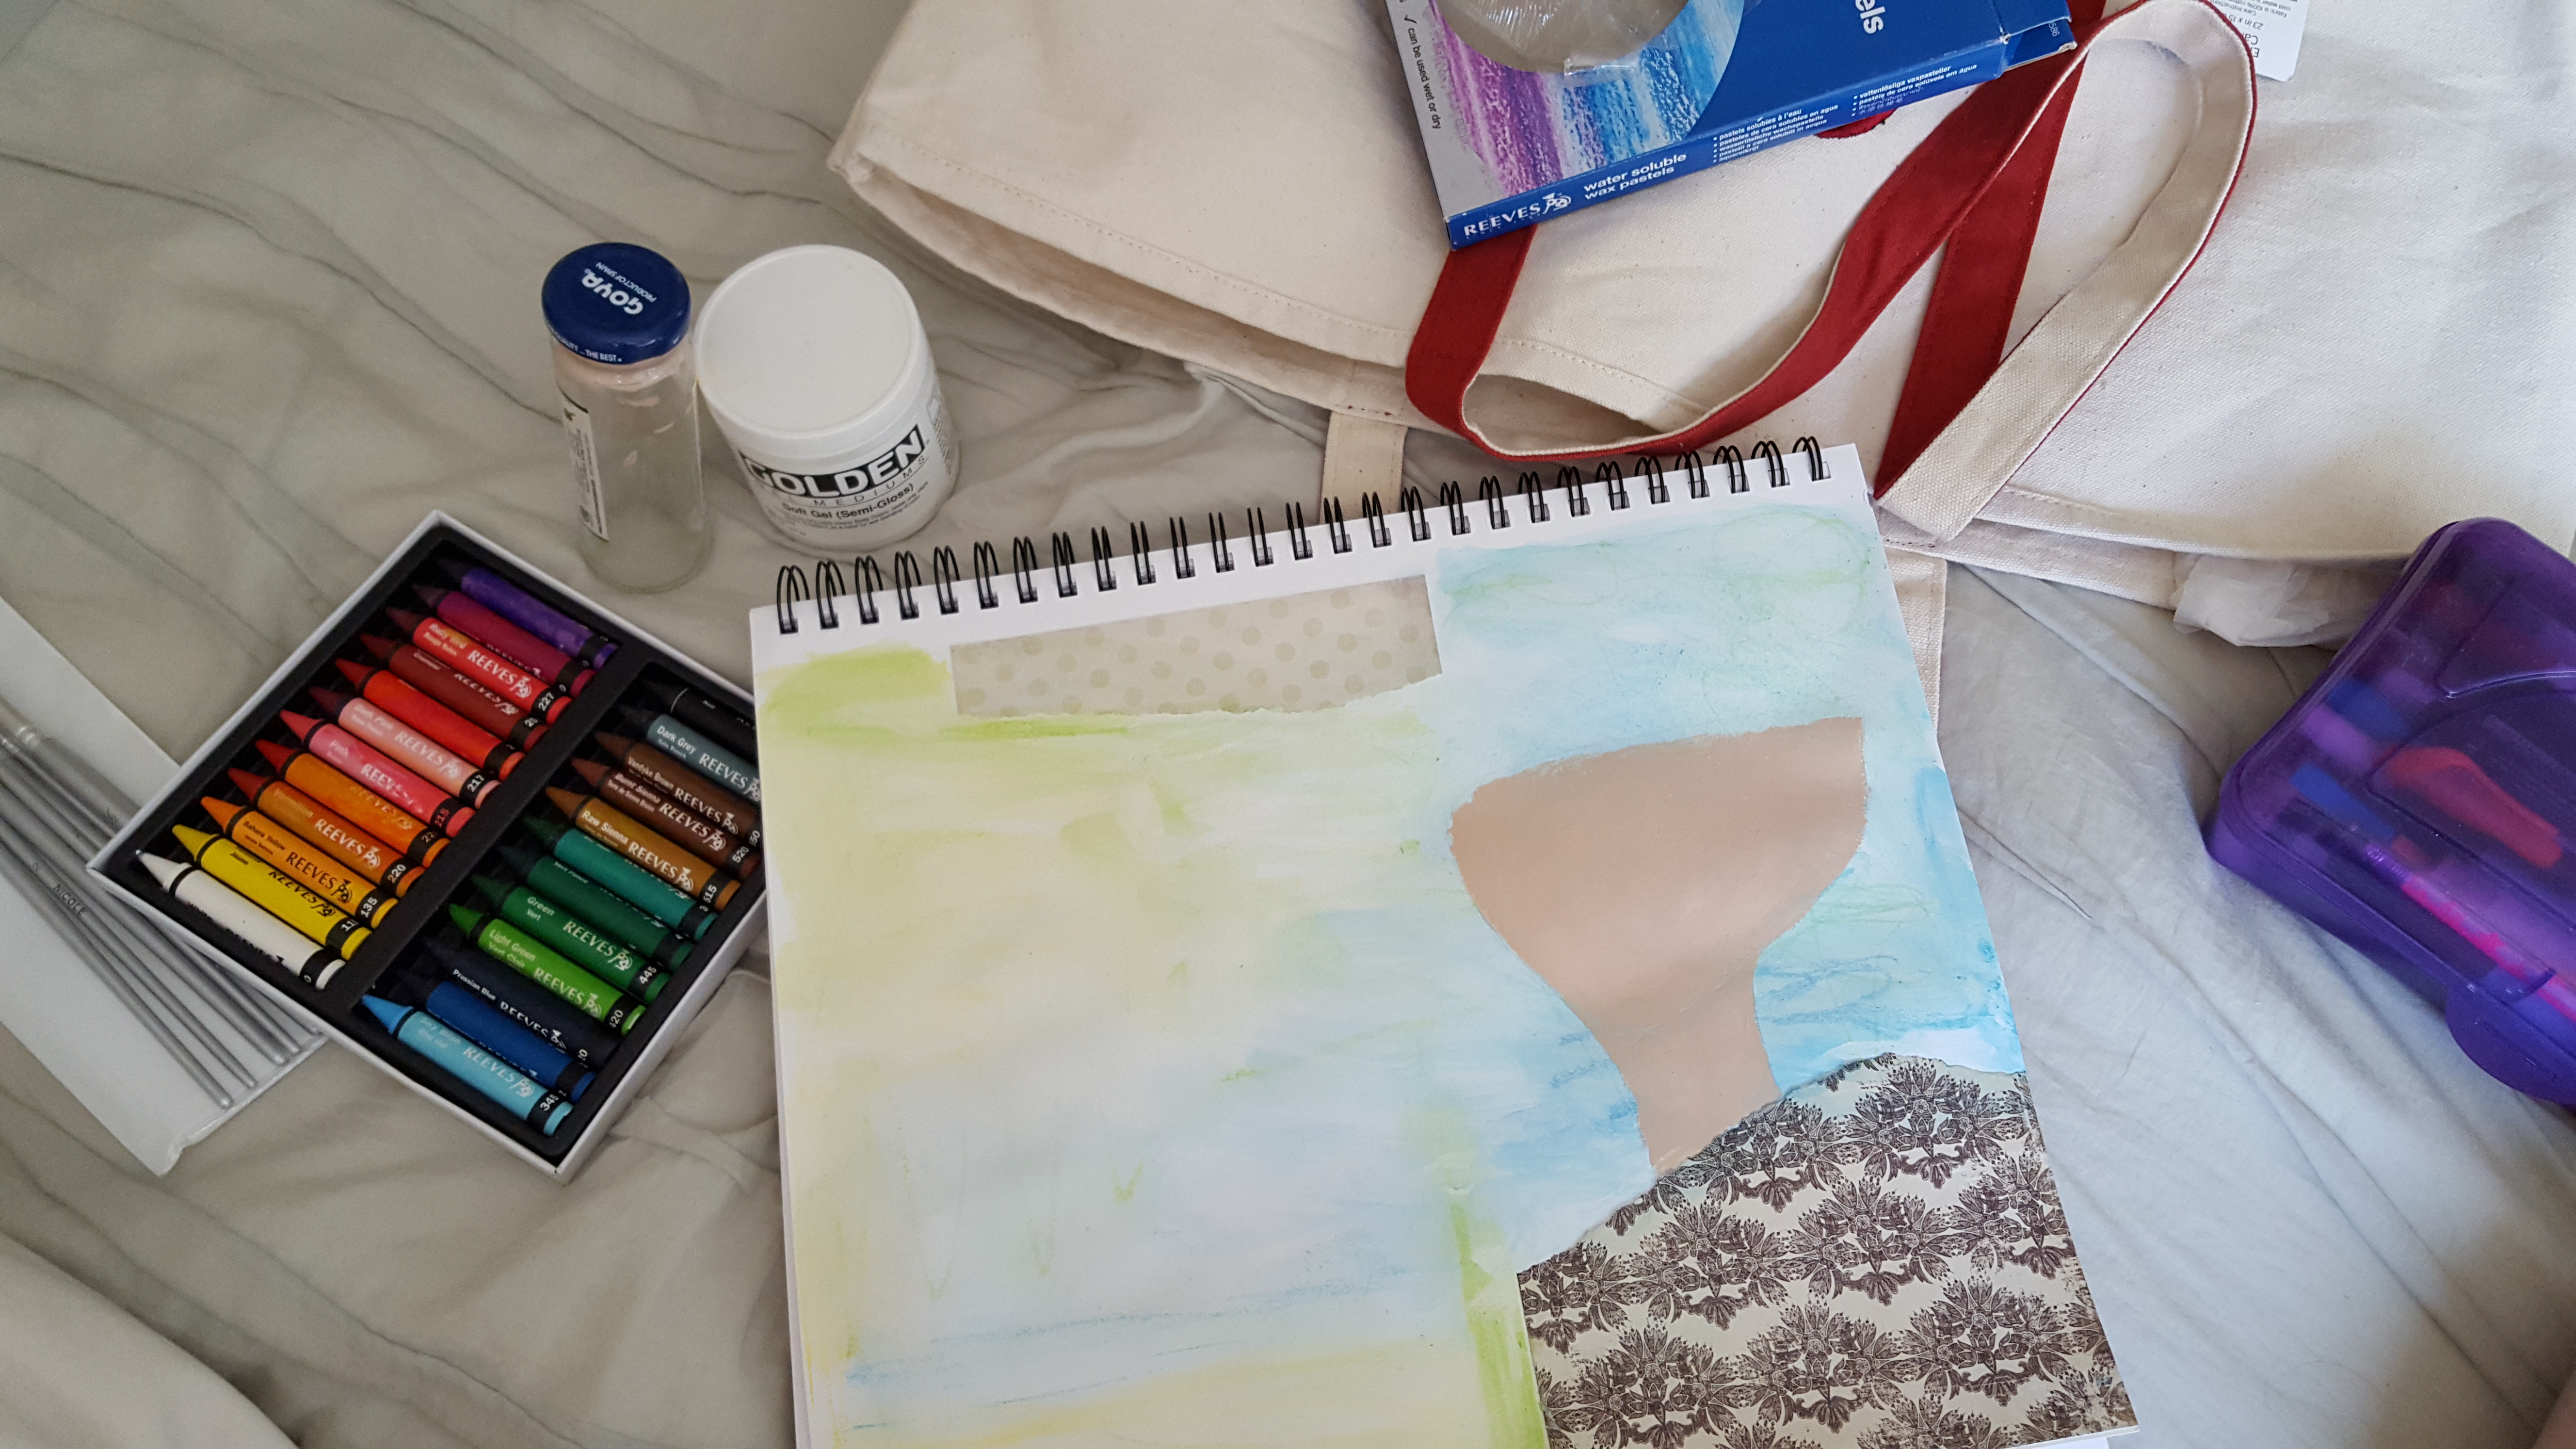
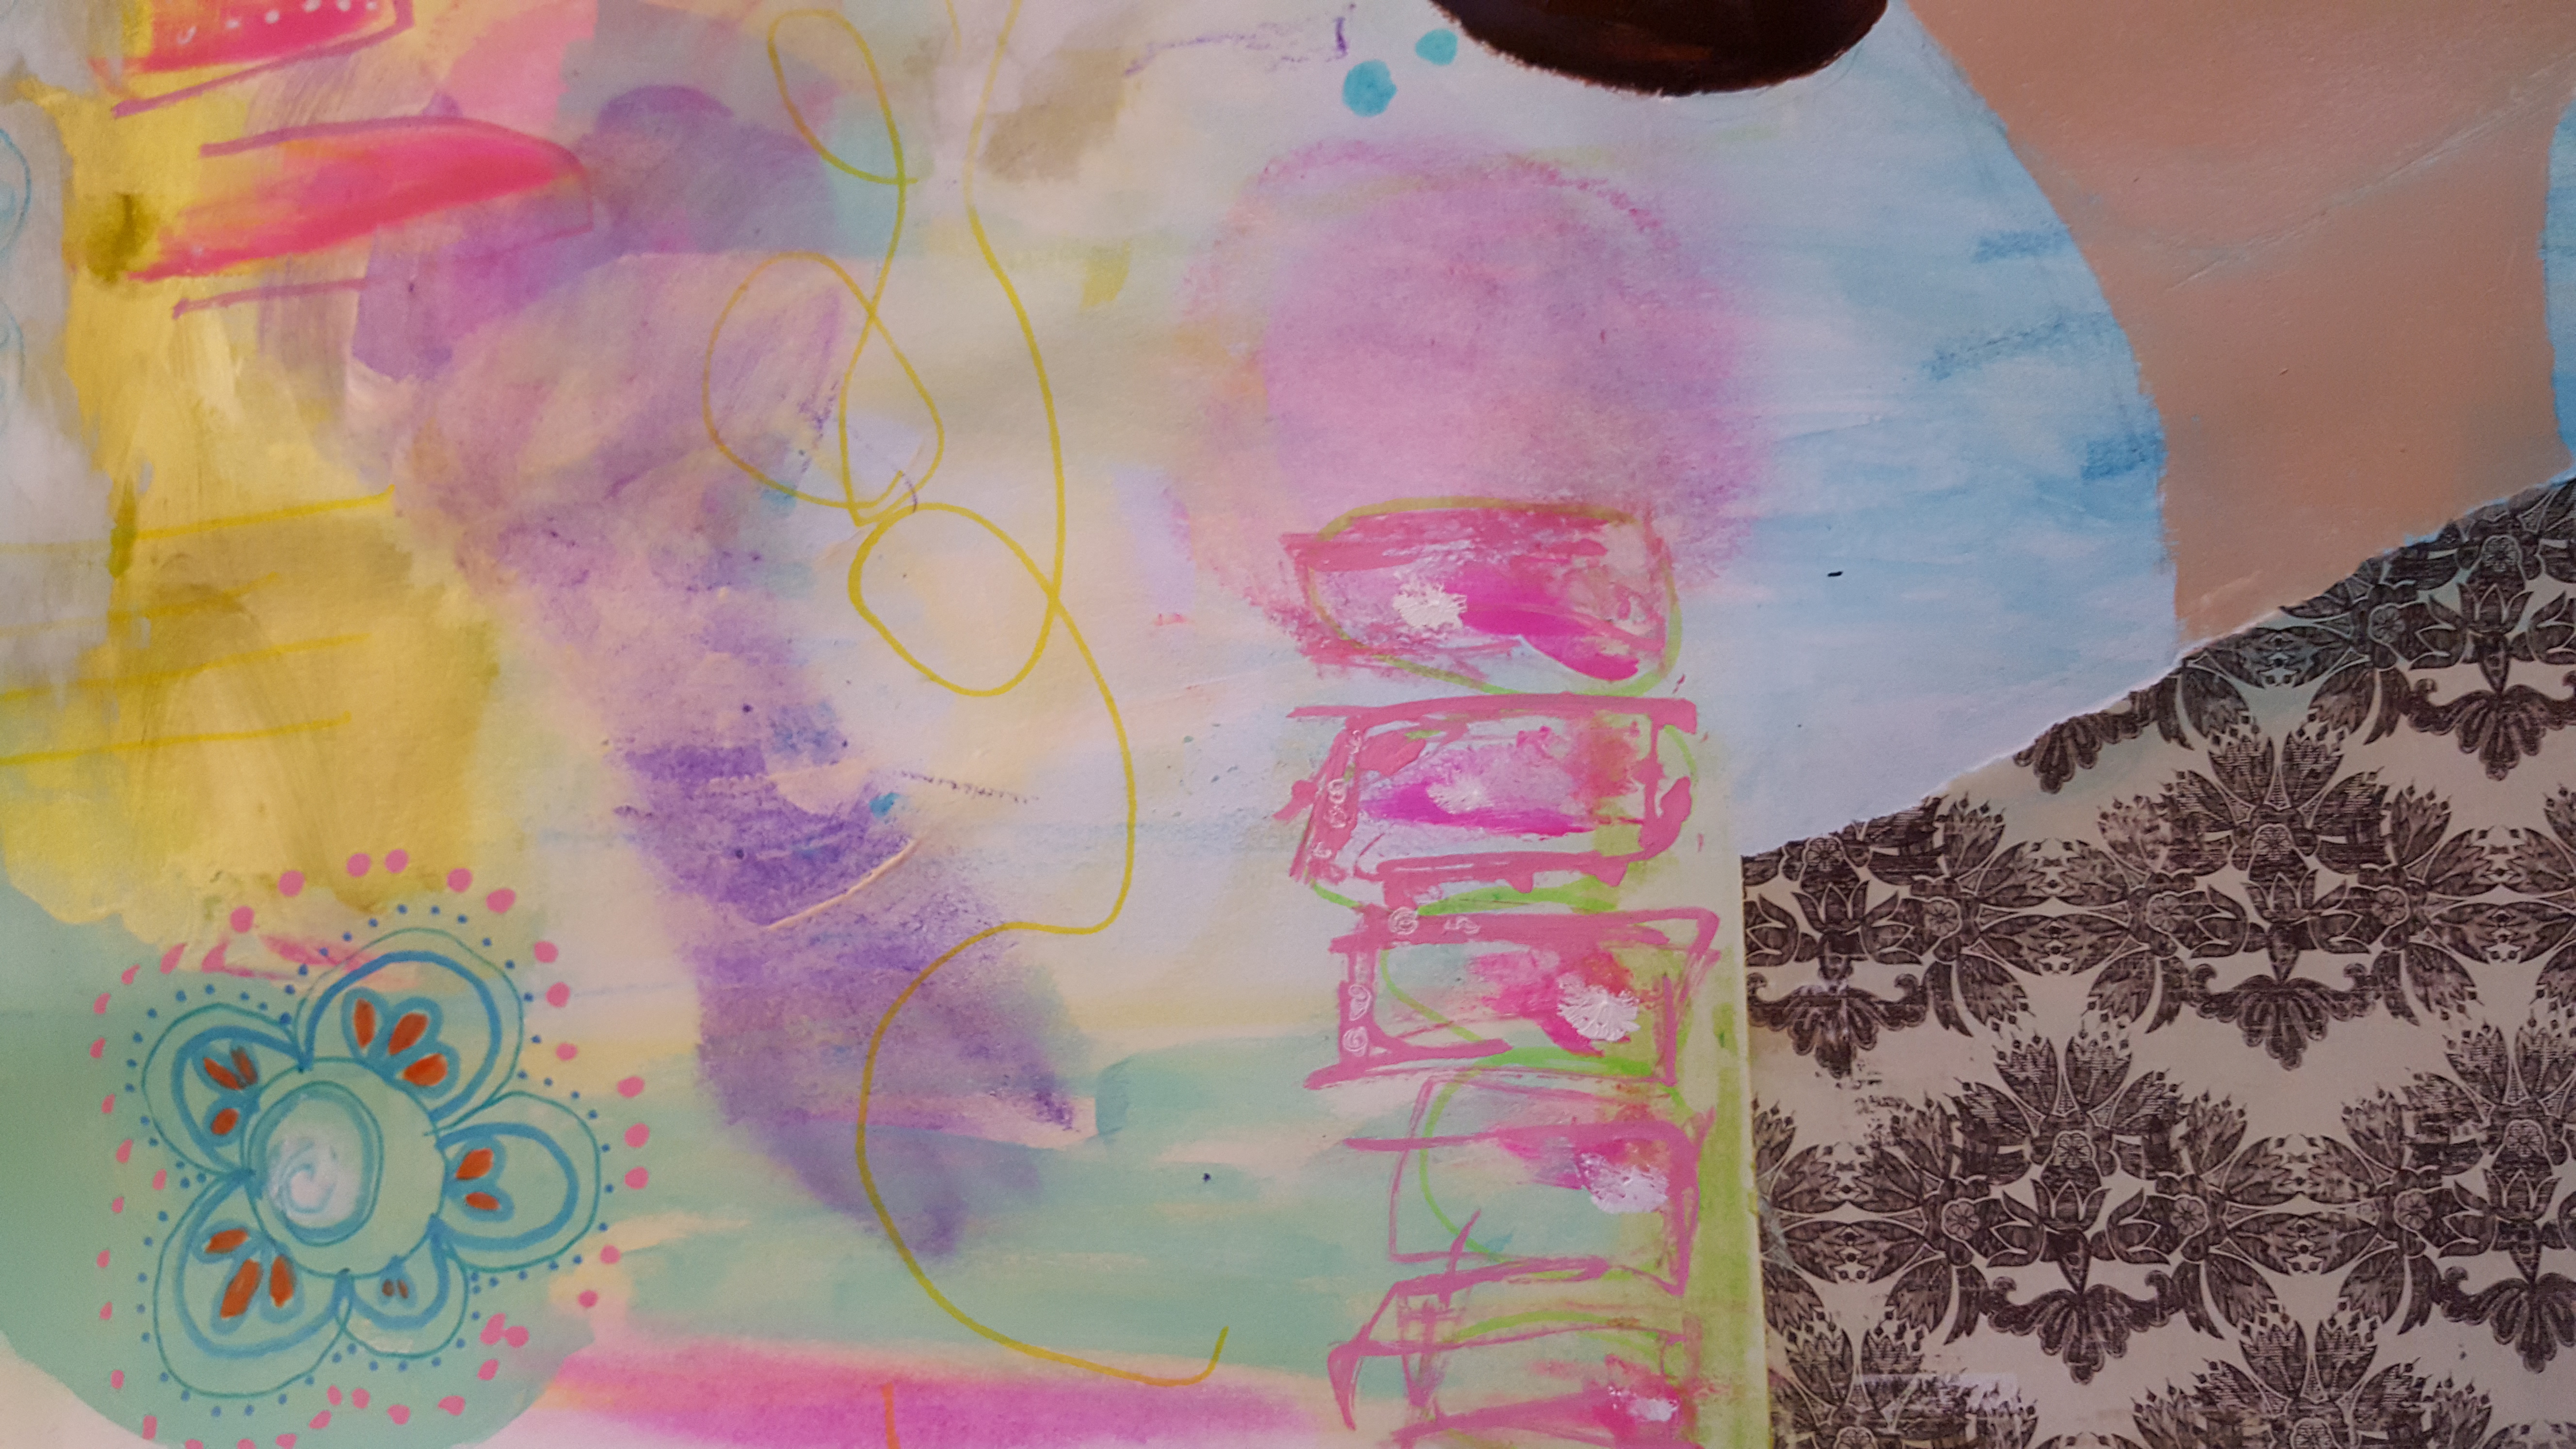
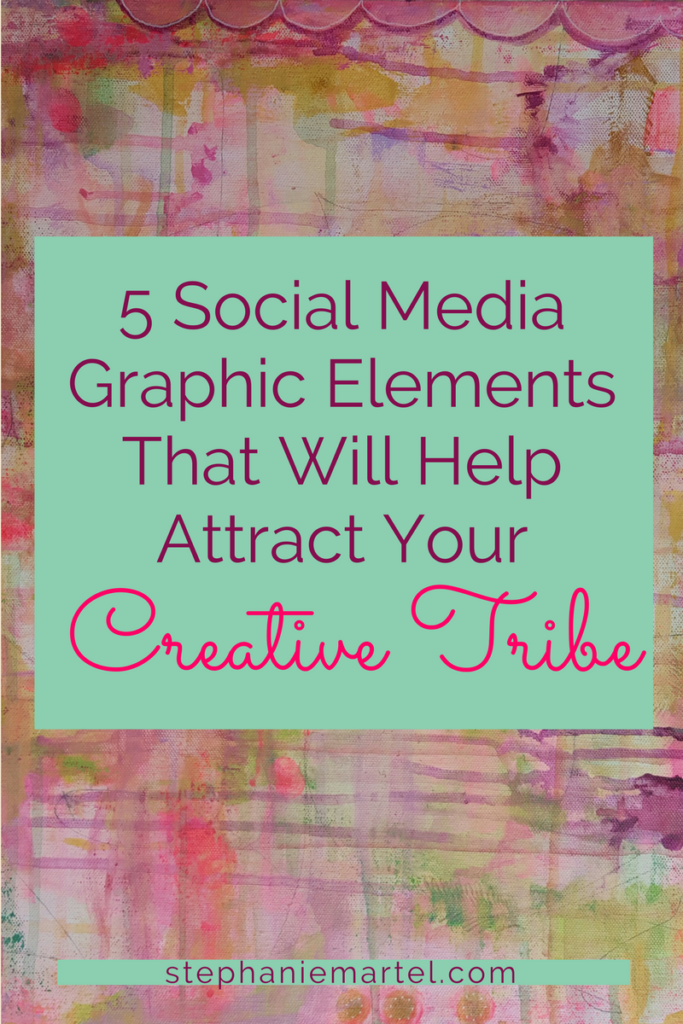
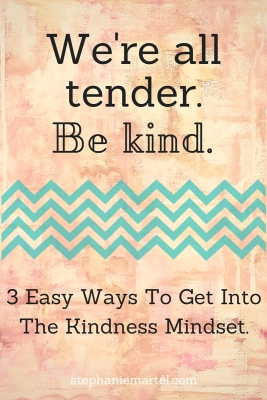
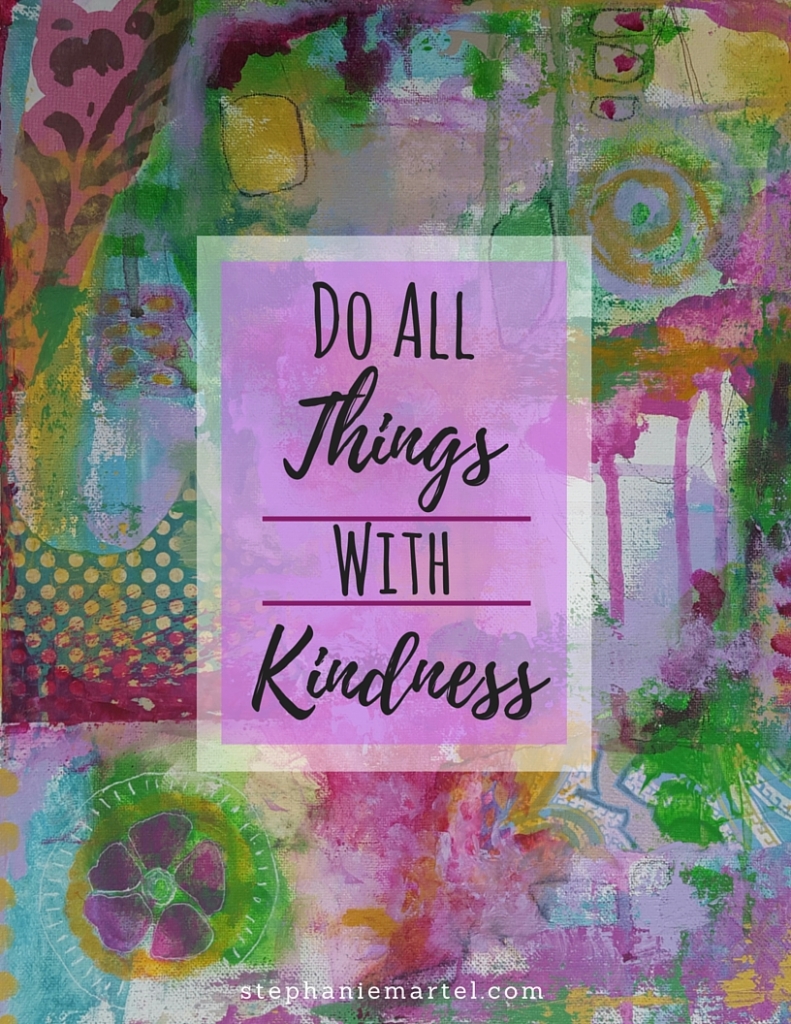
There are so many ways to say something, especially with graphic images.  Use your imagination and create different ways to send your message!

Experiment with quote visuals (overlaying a quote on a background of your own art or a picture you took) or flatlay pictures of items that link to your message.

Do whatever feels fun and right to you–if you put your heart into the message others will feel that and will want to share it. That’s how you create fans. 🙂


Keep the message clear.

We're all tender, be kind. Click through for 3 easy ways to get into the kindness mindset.

Don’t you hate when you get overwhelmed on a blog post from too much information and just click off? Yeah, me too.

Don’t bombard your audience with a lot of thoughts or actions–stick to one simple principle and it will be much more memorable.   And if you’re not sure what you want to say, here are 3 easy options to use that will get people thinking about you without scaring them away:

-Offer a solution to a problem

-Show them how to do something

-Tell a relateable story


Show them who you are.

My defunct studio

A picture of my defunct studio that I shared on my blog.

Don’t be afraid to get personal!  Everyone loves a peek behind the scenes to get to know the ‘real’ you.  Show them your funny/silly/weird side and they will love you even more.  Let that freak flag fly, girl!

Are you an artist?  Show a picture of a work in progress or of your messy studio.  Are you a designer?  Show them how you come up with your ideas before they look perfectly staged.

Everyone is a secret hot mess inside!  If you show your audience a little of that messy side, they will relate to you even more.

Be Consistent.

If you want to attract people to your home online, create a style that they can recognize.  The best way to go about this is to pick 4 or 5 colors and 2 or 3 fonts, and use them consistently in your graphics.  If you scroll through pinterest, you will recognize people just based on the images they post– they usually have a similar style with variations in color and information.  Their consistent branding method is a great way to get recognized!

Click through to get access to my free library of helpful tools, including this worksheet on how to create a good graphic!Love, Steph


5 Social Media Graphic Elements That Will Attract Your Creative Tribe2018-03-29T20:23:06-04:00

Do All Things With Kindness

Click through to get this free inspirational printable PDF!

Here’s a free printable PDF for you!

Do you want an 8×10 hi resolution copy of this inspirational piece that you can print out and frame for yourself (or a friend)?  Just click here and you’ll get access to my resource library that includes this freebie and a bunch of other juicy stuff I know you’ll like.

Love, Steph

P.S. Are you struggling to create easy, beautiful graphics for your home on the web?  I SO have you covered, my friend!

Get notified when Canva For Creatives is available!

Do All Things With Kindness2018-03-29T20:23:06-04:00
Go to Top